With chalkboard paint widely available now in the
craft stores it is easy to turn thrift store and
yard sale items into chalkboards. If the items that
you are turning into cheap chalkboards are less than
desirable-looking, you can mix up your own
chalky-type paint very inexpensively to transform them.
When I found two wooden frames at a yard sale for
25 cents each I thought they would be good items to
experiment making into chalkboards. Also a friend
gave me (for free!) a metal tray that she no longer wanted.
but when I saw this nicely packaged and cutely named
chalkboard paint at Hobby Lobby for a very reasonable
price ($4), I decided to give it a try.
The Ball mason jar folks seem to have a line of paints and
other items that you can use to transform (Transform Mason)
mason jars to have more uses than just for canning.
A couple of other items I decided to paint while I was at
it, was a clearance aisle "L" and a small free-standing
sandwich board (both from Hobby Lobby). Both of those
items are for my grand daughters. The "L" is for Lilly who
loves to practice writing her name. The little sandwich board
is for a yet-to-be-named baby due in about ten days!
The thinner less attractive frame had glass in it which was
sturdier to brush the special paint onto. The nicer frame
only had a thin piece of plastic covering...it did not
initially hold the paint as well but it seemed to do fine
in the end. It reminded me how each of us have our
pluses and minuses too.
I used a foam brush to put several coats of the black
chalkboard paint on the items. The paint instructions
were not very detailed on the package but I had
read to put a horizontal coat then a vertical coat and
let it dry between coats. The paint seemed to go a long
way. I even had some left over even with doing five items.
After I had enough coats that I could not see through the
glass and the plastic when I held them up to the light,
I figured that was enough. The other items had enough
paint to cover up whatever was originally underneath.
Maybe I put too many coats? When I "seasoned" the
chalkboards, a kind of linen-looking texture emerged.
When I researched that later, I found out that you can
sand the paint down before this part. It probably would
have made it smoother in case you want to do that.
Also not on the package instructions but I had read to do,
is to "season" the dry chalkboard paint. You rub the flat side
of a piece of chalk on the painted board coating it well.
This prevents "ghosting" or the first thing that you write on the
board lightly showing up in the background forever.
Then wipe the "seasoned" chalkboard with a soft dry cloth.
Here's how the "L" looked before being sent to Texas...
My son and his wife announced last Fall that they were
expecting a baby on a large sandwich chalkboard that I had
painted to use at their after-rehearsal dinner and wedding
last June. I thought they might like the tiny copy of the
board to write things like the baby's birth weight, etc.
to use in photos of the baby.
The metal tray chalkboard is serving a useful purpose in
my kitchen. We have an unsightly (but necessary) electrical
outlet on the kitchen backsplash. It wasn't even installed
correctly and an outlet cover won't fit on it. The tray-
turned-chalkboard now covers up the ugly plugs, etc.
Now the chalkboard's saying can be changed out with
seasons and moods to add pizzaz to the kitchen.
It is held up by a picture easel.
When chalk paint became popular a couple of years ago,
at first I thought everyone was talking about painting
furniture with chalkboard paint. I soon learned that they
are different (but I don't pretend to know exactly how).
You can mix up your own chalk-type paint. It gives a
similar look to the store-bought ones but it is probably
not as durable or high quality (but it IS cheaper).
The first items I painted with home made chalk-type
paint, I used powdered wall texture because I had almost
a whole box of it left over from another project and the
main ingredient in the wall texture was calcium carbonate.
Click here if you want to see the recipe for that paint.
Finally I used up all the wall texture and wanted to try
chalk-type paint instead of getting another box of wall texture.
I'm not 100% sure this is official Plaster of Paris but it is cheap, easy to obtain and it works.
This container of plaster was only $3 (HL) and will help make lots of batches of chalk-type paint.
Inexpensive latex or even acrylic craft paints can be
mixed with the plaster to make the chalky paint.
This picture is of the bottom of the paint bottles so you can see the colors I used better.
You can even mix the colors together to get the color of chalky paint that you want.
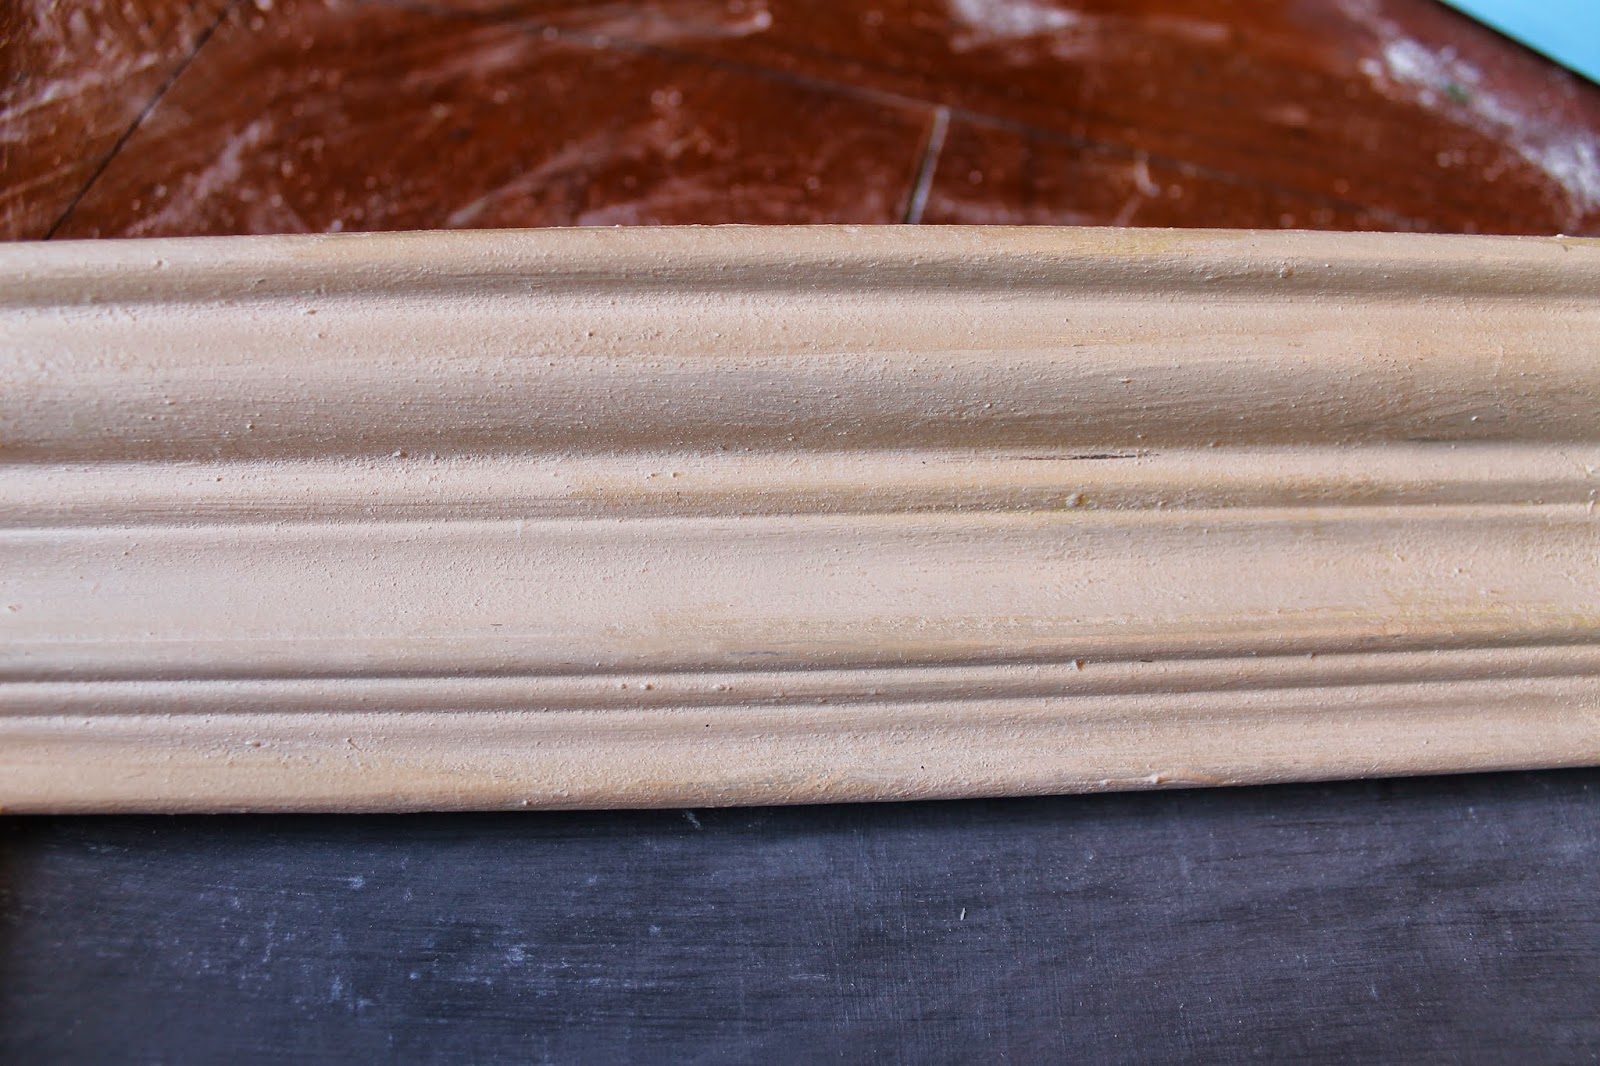
These frames that I want to give a chalk-type paint finish
to do not need a lot of paint. It would be wasteful to mix
up even moderate size batches of chalky paint so I am not
going to use a "recipe" that calls for even a cup of paint.
A better ratio to keep in mind for small batches of chalky
paint is about 1 part plaster to 3 parts paint. Add enough
water to get the paint and plaster to make a cake batter
consistency then add more water at little at a time to
get the paint as thick or thin as you want it.
I wanted a layered look without sanding so I used thinned
out paint in four different shades of white/cream. The first
coat I left thicker to cover most of the wood, then layered
and dry-brushed the other coats letting some of the previous
coats show through. You might be able to get away with
not waxing a decorative item like the frames but the wax
makes the paint finish more durable and adds depth.
For this project I only used a clear wax. You do not have to
have a fancy wax to seal the chalky finish...even Johnson's
paste wax from the grocery store works. You can brush it on
with a fairly stiff paint brush or you can rub it on with a rag.
Give it time to soak into the paint finish...at least several
hours. Then buff the wax with a clean dry white cloth.
I was lazy and did not want to sand the frames.
Sanding lightly would have exposed the layers of paint better
and made the surface smooth by eliminating plaster flecks.
Secure the chalkboards into the frames and
write away with your chalk.
Since this is Easter week I chose Bible verses
for the framed chalkboards.
They are centered on larger frames
that also have chalk-type paint finishes right now.
The larger frames started out black but have been gold-leafed, driftwood grey,
silver and now the distressed chalky finish. They are subject to change.
The large frames held pictures originally but for
display holiday cards. Since then I have enjoyed
changing out what is displayed on the wire seasonally.
They disappear into a cocoon and seem to be dead but
then they emerge more beautiful and powerful than before.
Perhaps the most recognized symbol for Easter is the lamb.
In the Bible Jesus is called "The Lamb of God". He is
known as "The Good Shepherd" and we are his sheep.
The Shepherd lays down His life for the sheep.
Also lambs are born in the Spring around Easter time.
I'm planning on my "new" chalkboards to move around to
different spaces and places in the house and be an easy
way to put seasonal words to live by in clear view.