February 24, 2012

The Opening Orchid

Orchids are such amazingly beautiful flowers.

I bought this white orchid to counter balance the
orange-y orchid (that I had purchased to try to
mimick a still life for January's
in the terrarium/orchid arrangement in my kitchen.

I like orchids if I can find them at a reasonable price
'cause the flowers last a long time.
I try to find them with some buds left still to
bloom so I can enjoy them even longer.

This one had pretty flowers already on it
and four buds still to open up.
The pot had a shiny glaze on it which I
thought did not really go with the other items
in the collection so I painted it a clay-ish
color, then a flat white color, then sanded it down.

Here we are down the three buds left to bloom.


The next to the last orchid flower opening up...


Poor little plant...did I water you too much? not enough? your leaves are droopy.

The final bud opens as the first blooms on the
stalk shrivel up and drop off.

Such a pretty face.
I have never been able to get my orchids to re-bloom so this plant and the
orange-y one will be going to live with my friend who got a book
 called "Orchids For Dummies" . Oh well, at least my terrariums are still alive.

(One of my favorite movies is "Adaptation" which is loosely,
and hilariously, based on the book "The Orchid Thief".)


February 22, 2012

Mardi Gras Supper

Fat Tuesday just gives me some Cajun cravings.
I found some easy recipes that sounded Cajun
enough for me...they are probably far from authentic.

The subdued "Winter White" table setting
would just have to go and a much more festive
centerpiece would "reign" for our
Mardi Gras Supper.

The Rex Krewe is one of the oldest krewes
of the New Orleans Mardi Gras so
I brought the crowns that ususally live in
the bedroom out to be king of our tiny carnival.
Purple, green and gold were the original colors of the Rex Krewe.  They became the official
colors of Mardi Gras in the late 1800's.  Purple stands for justice, green for faith,
and gold for power.  Rex has been King of Carnival since 1872.


Doublooms (coins) have been thrown from Mardi Gras parade floats since 1964.  Each krewe now
have special doublooms made each year with their names and the date on them.  They have
become collectables.  If you want to know more about doublooms, here is a link


The recipes for the meal came from the website All Recipes.com.
I decided on Jiffy Jumbalaya,
(click on colored text to take you to the recipe on internet)

I like to use "dirty rice"(easy boxed kind) with jumbalaya.

Bayou Slaw incorporates the colors of Mardi Gras
with red cabbage, yellow pepper, and green zucchini.

I made the Super Easy King Cake even easier than the
recipe I printed out.  It's more of a craft project than a
recipe so I'm going to show you the steps quickly.

Get cans of cinnamon rolls with icing.
The recipe calls for 3 cans but I'm only having three people for supper so I cut back.

Undo the rolls and braid them together in sets of three.

Place your sets of roll braids in a Bundt (or tube) pan
 or just stack them in a ring shape on a cookie sheet.

While your king cake is baking for about 25 minutes
(don't cook it for 50 minutes as the recipe says),
divide your enclosed icing into three bowls.

Color the icing green, yellow, and purple
with food coloring and put them in sandwich bags.

When the cake comes out of the oven snip a tiny corner
off of a corner of each icing bag and squiggle it on the cake.
You could adapt this idea any time of year with
your choice of colors or just leave icing white.
You are supposed to put a tiny plastic baby in the cake after cooking but I skipped this step.

Ummm...just try to pretend that the weird color is purple.


Even though I was the Queen of Kopy Kat Carnival
(and had a plastic crown to prove it)
my daughter was Princess and wore a
purple and green fascinator just like
British princesses do. 

The napkins turned out better than I thought they would.
They looked almost like tissue paper flowers.
Just open out each napkin, pinch it in the middle, add another color in a stacking
fashion till you get all three nestled together. Then
wrap a piece of decorative wire (or tie a ribbon) around the base.

Bourbon Street's most famous drink is the Hurricane.
I couldn't find the original Pat O'Brien's mix or the
signature Hurricane glass but here's my substitute.


After eating our jumbalaya and slaw...

...we pulled our party poppers which shot
tiny streamers everywhere...fun!


Then time for dessert of King Cake and Moon Pies...

Moon pies started being thrown from Mardi Gras floats
in Mobile, Alabama in 1956 when Cracker Jack boxes
were banned because of the box's corners.  
Mobile actually had mystic parading 13 years
before New Orleans was even founded.


A good time was had by all.


"Laissez les bons temps rouler!"
French for "Let the good times roll!"


February 18, 2012

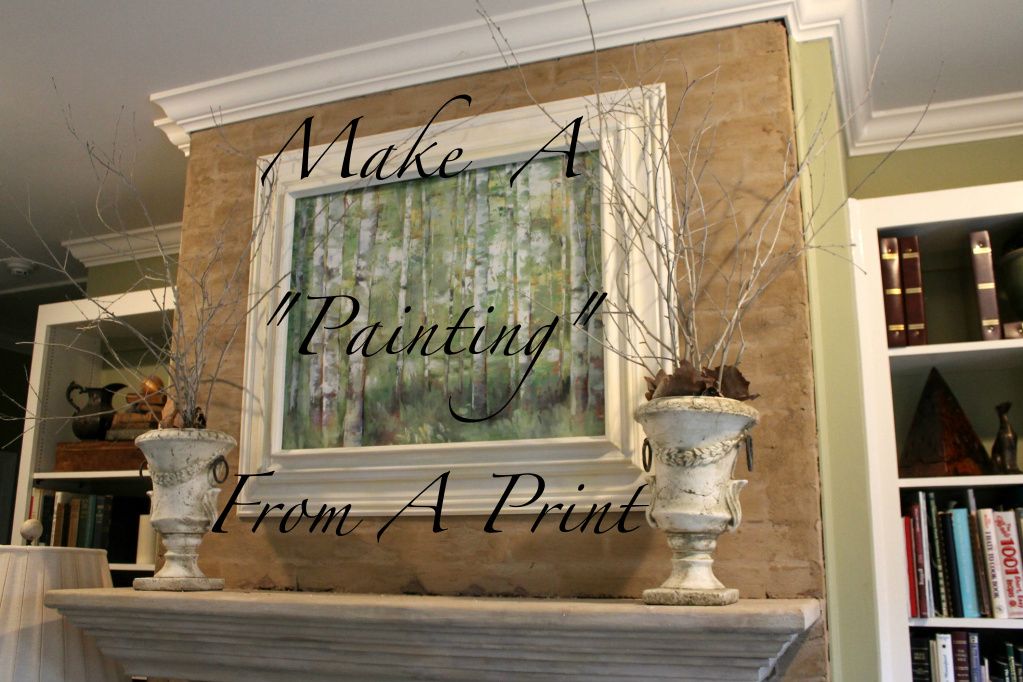
Make a "Painting" From a Print

Want a change of scenery over your mantle or other area of your home but don't have the budget to invest in a new painting?  
Here's how you can make a faux painting by using an art poster/print.

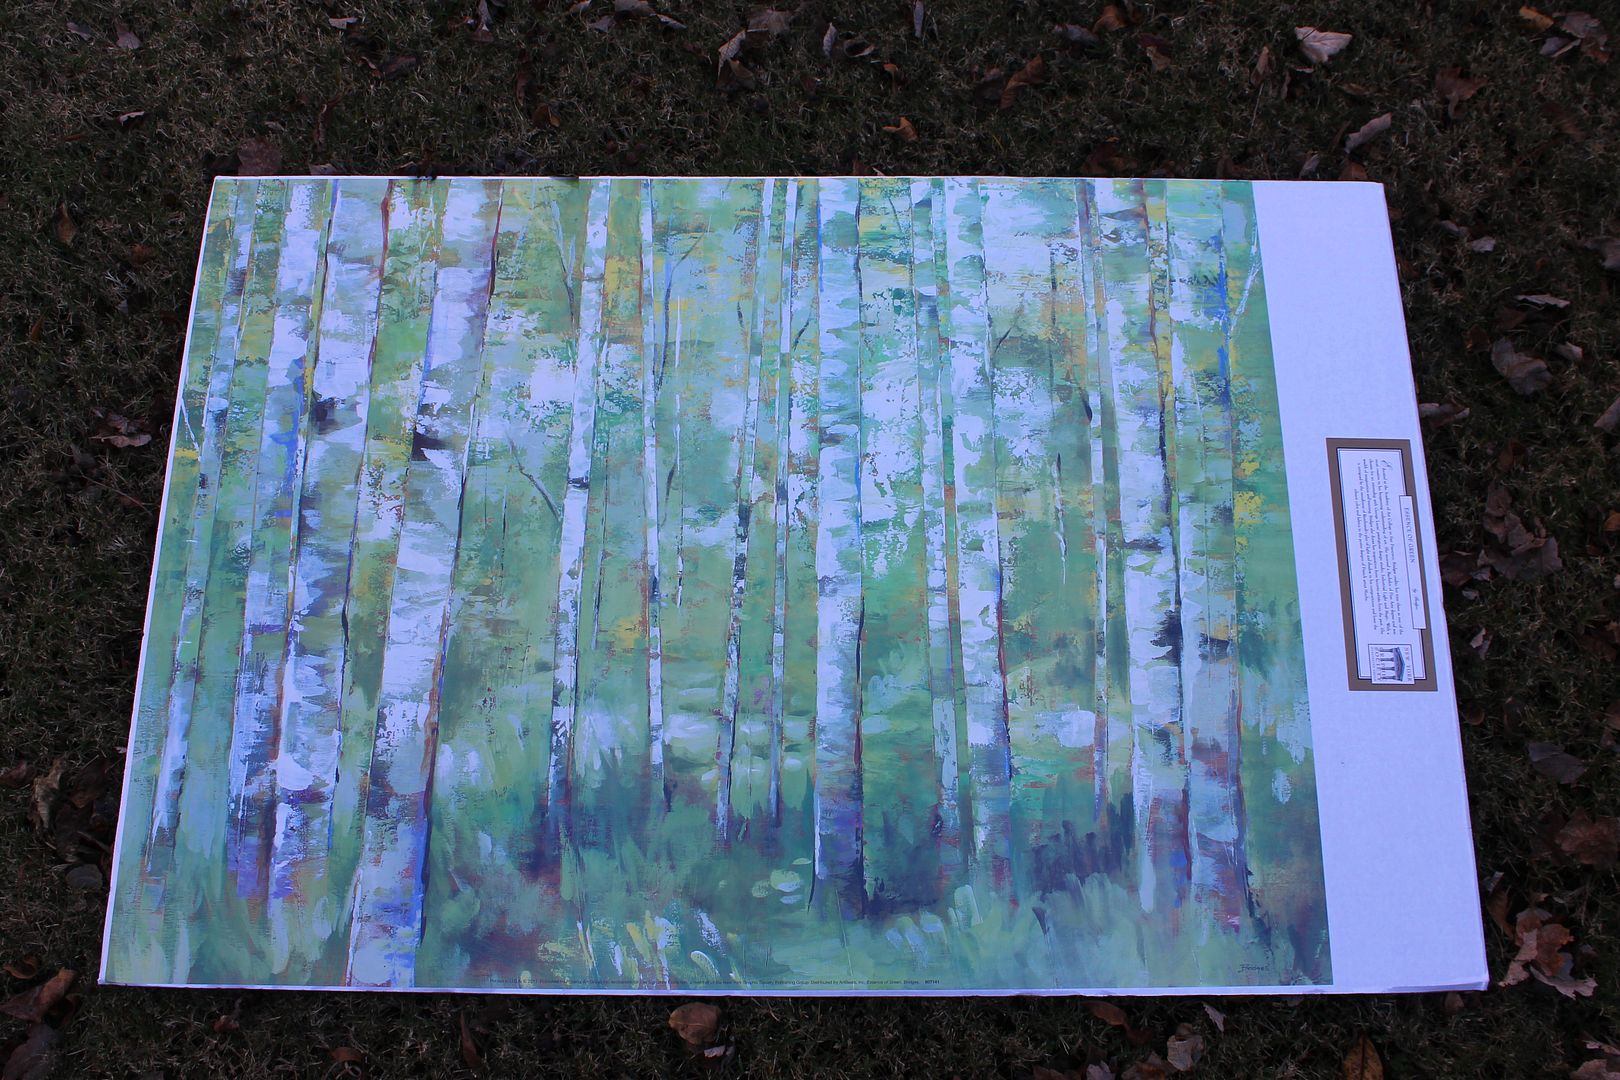
Select a print that  fits your size requirements.
This poster/print came from Hobby Lobby.  It is about the size I needed to go in an existing
frame that I had.  I had to cut it down some to fit in the frame. Any text will also need to be cut
off to make it look like a painting so keep that in mind when selecting a size of print.

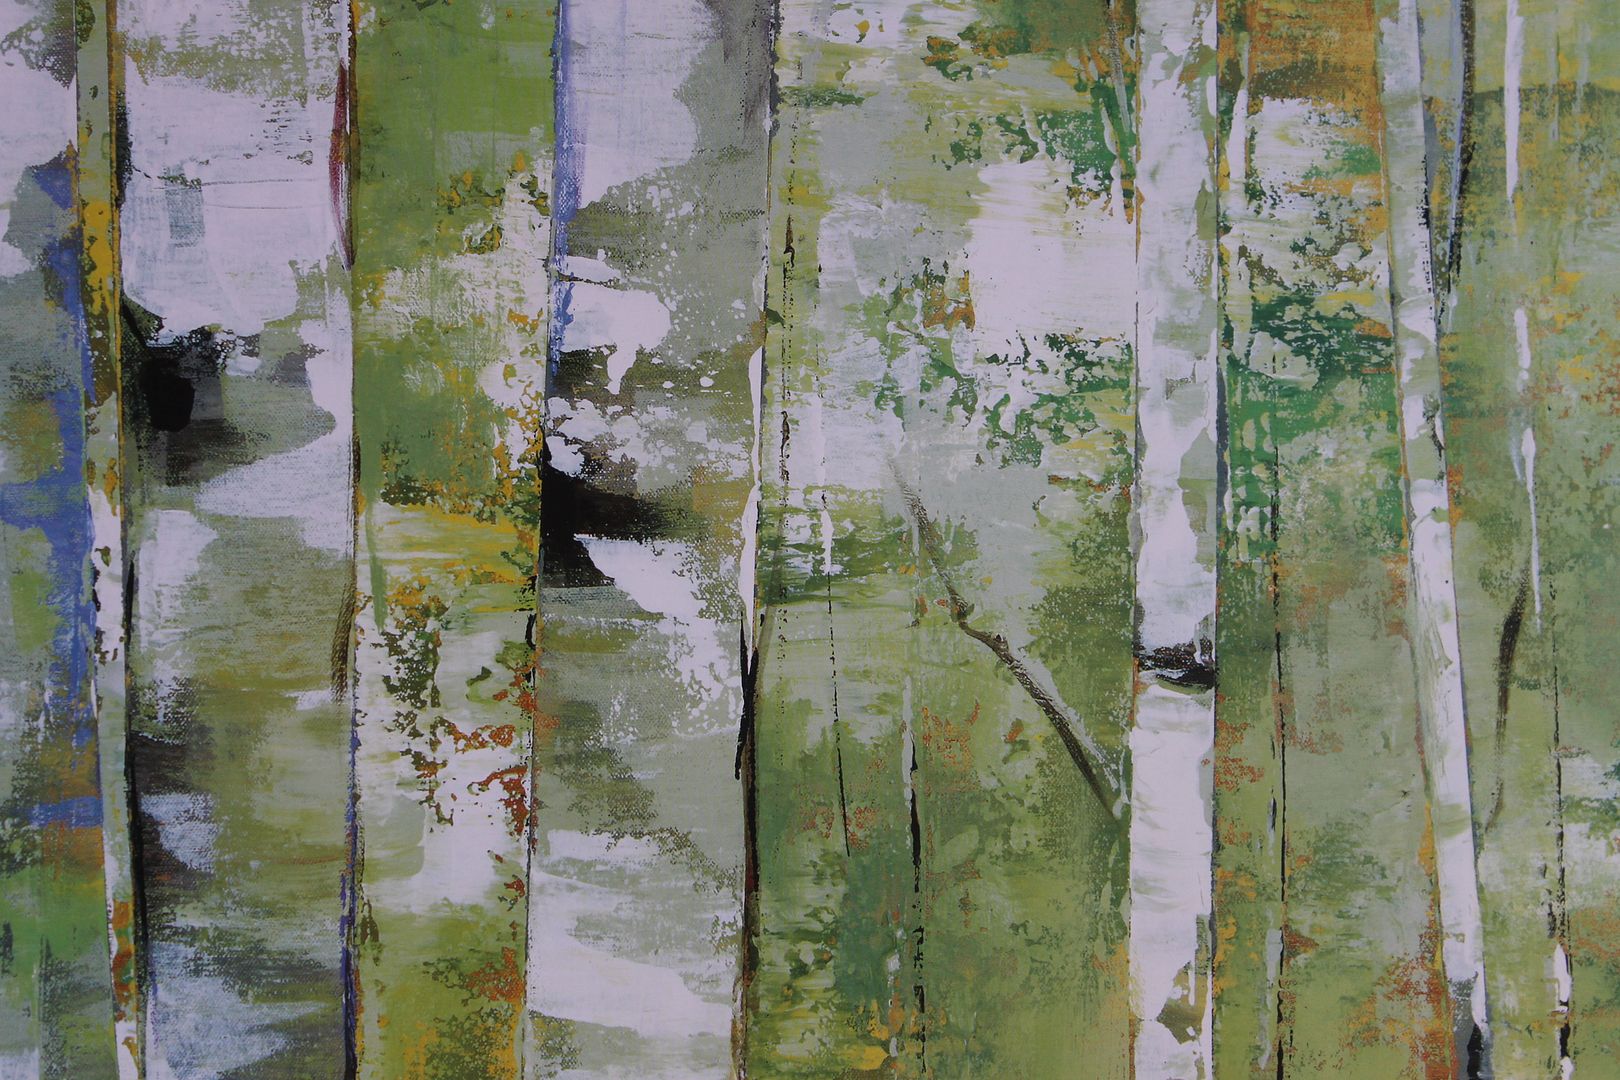
It also helps to "fool the eye" if the print has
a painterly look to it with visible brush strokes.

Cut a piece of foam core board to fit snugly inside the frame.
Cut the print to be the same size as the foam core.
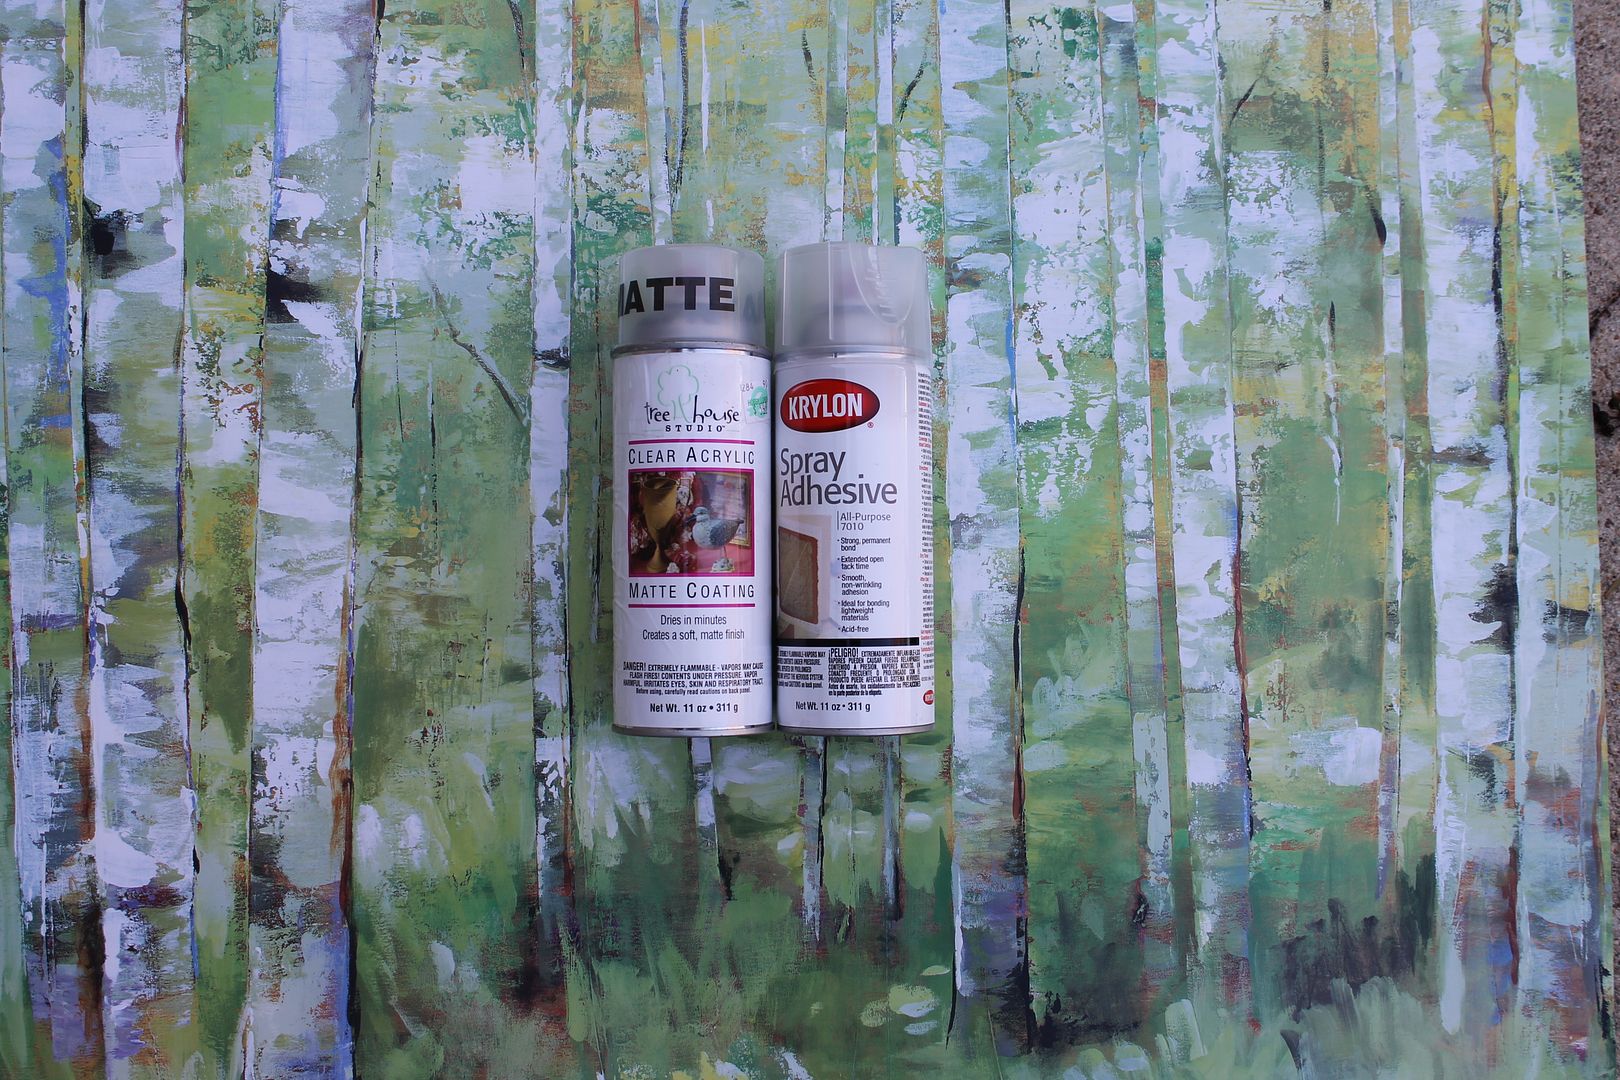
Attach the print to the foam core with spray adhesive.
When that is dry, spray the print with a clear acrylic sealer.
Using spray adhesive keeps the print from getting wrinkles and bumps that regular
glue would produce. Spray adhesive can be a mess...I always do it outside. 
Wait for a low humidity day to do this step.
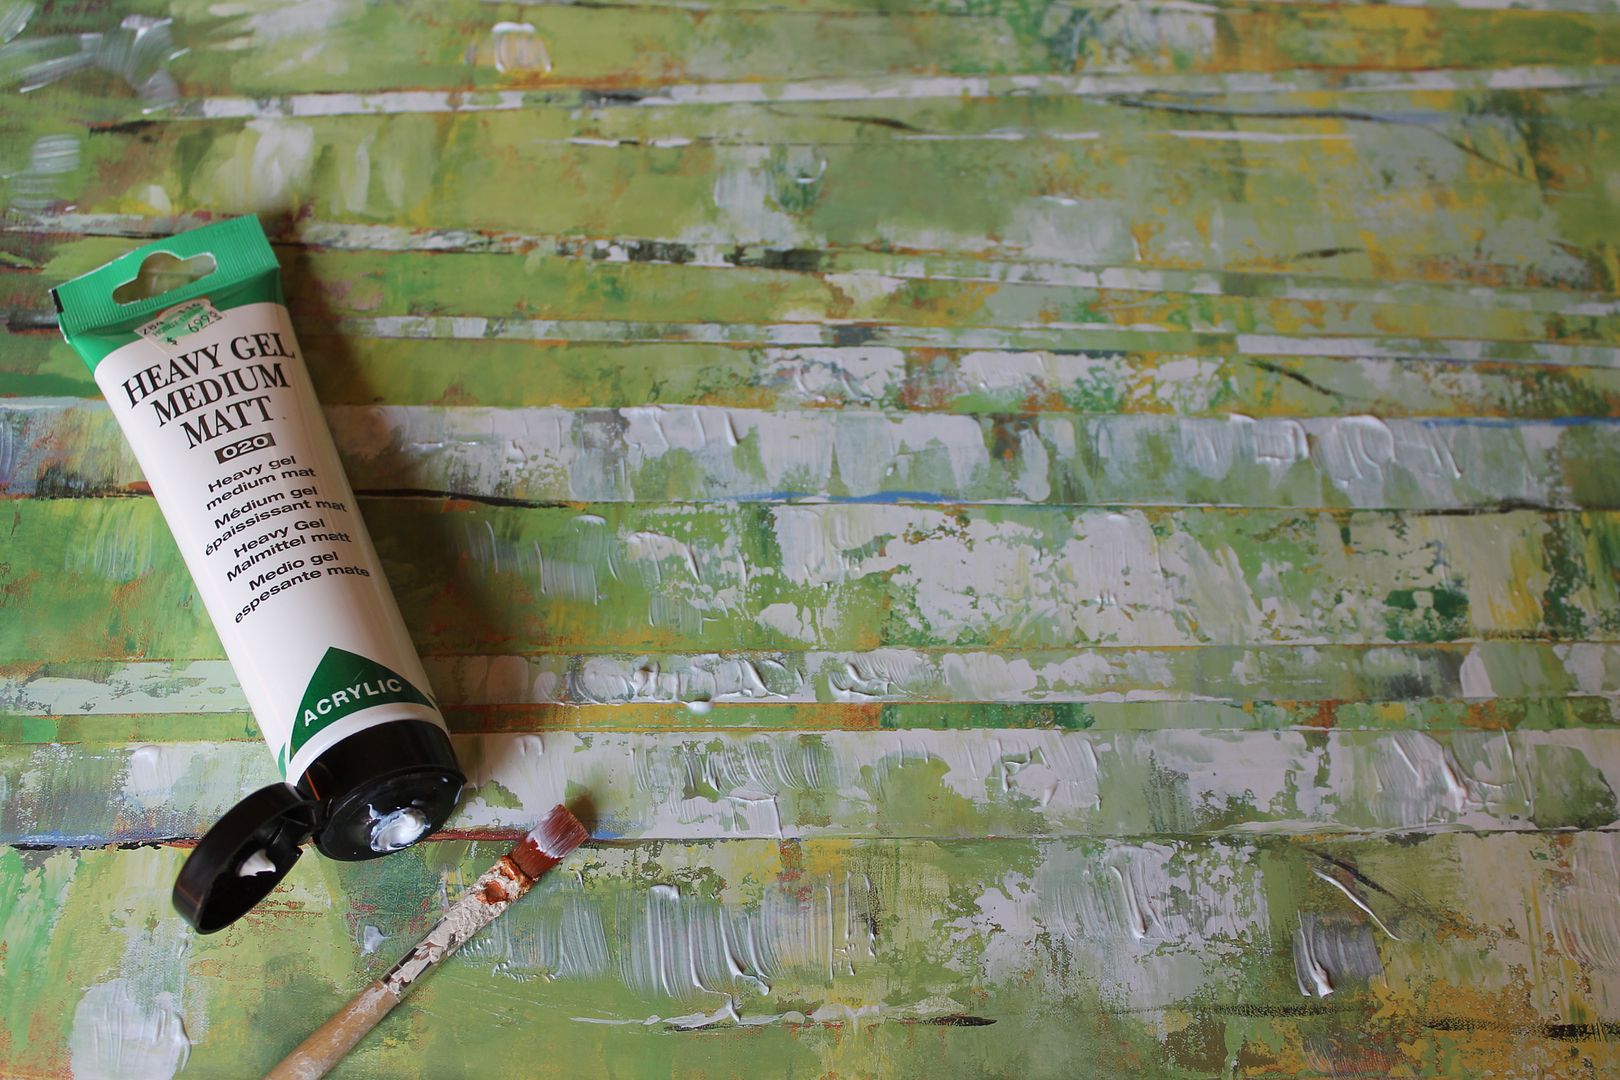
The sealer also helps to keep the print from wrinkling when the gel medium  is applied.

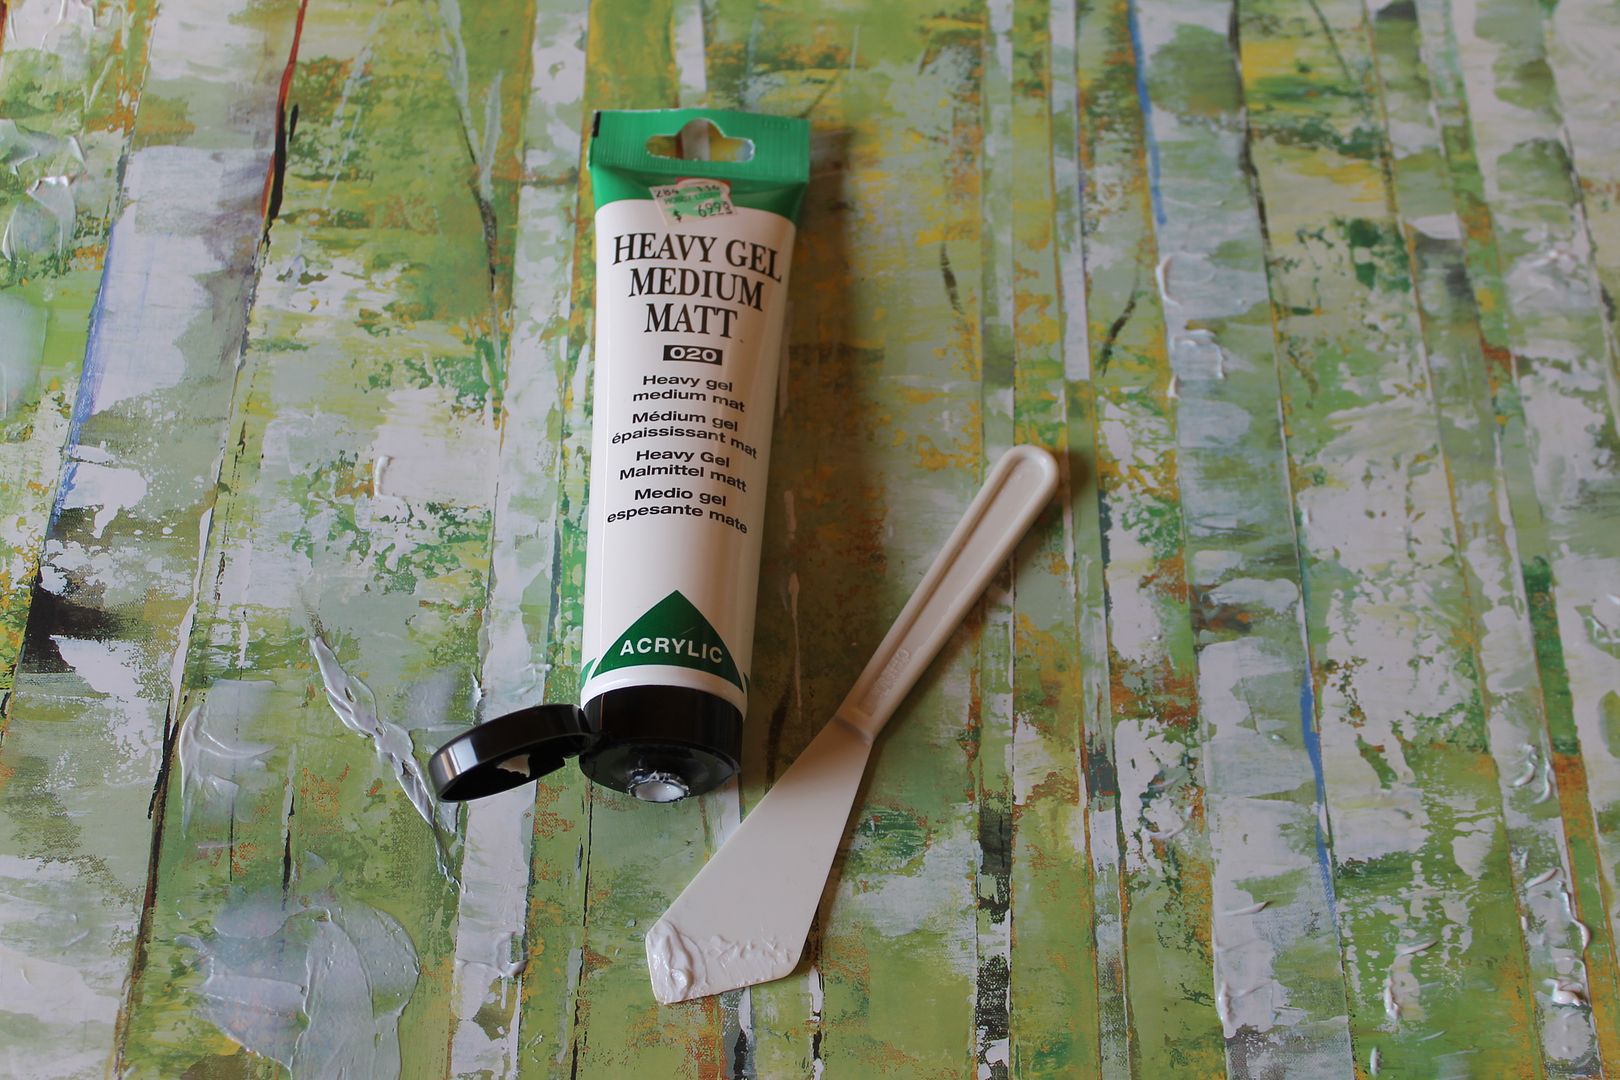
When the sealer is dry, apply the gel matt medium
(found in the artist section of craft stores or in art stores).

Put the medium on in the same direction that the brush strokes on your print are going.  If your print does not have a brush-stroke look, apply the medium as if you were painting the objects on the print, following the shape of the object with the brush to create stroke looks.

You can apply the matt medium with a brush or a pallette knife.
A pallette knife is also in the artist section of craft stores.  This one is just plastic.  It came in
a pack of about 4 different sizes for $3.  I felt very "artsy" using it.  It gives a different look than
brush strokes. I think the artist of the print used a pallette knife to paint some portions of the original.

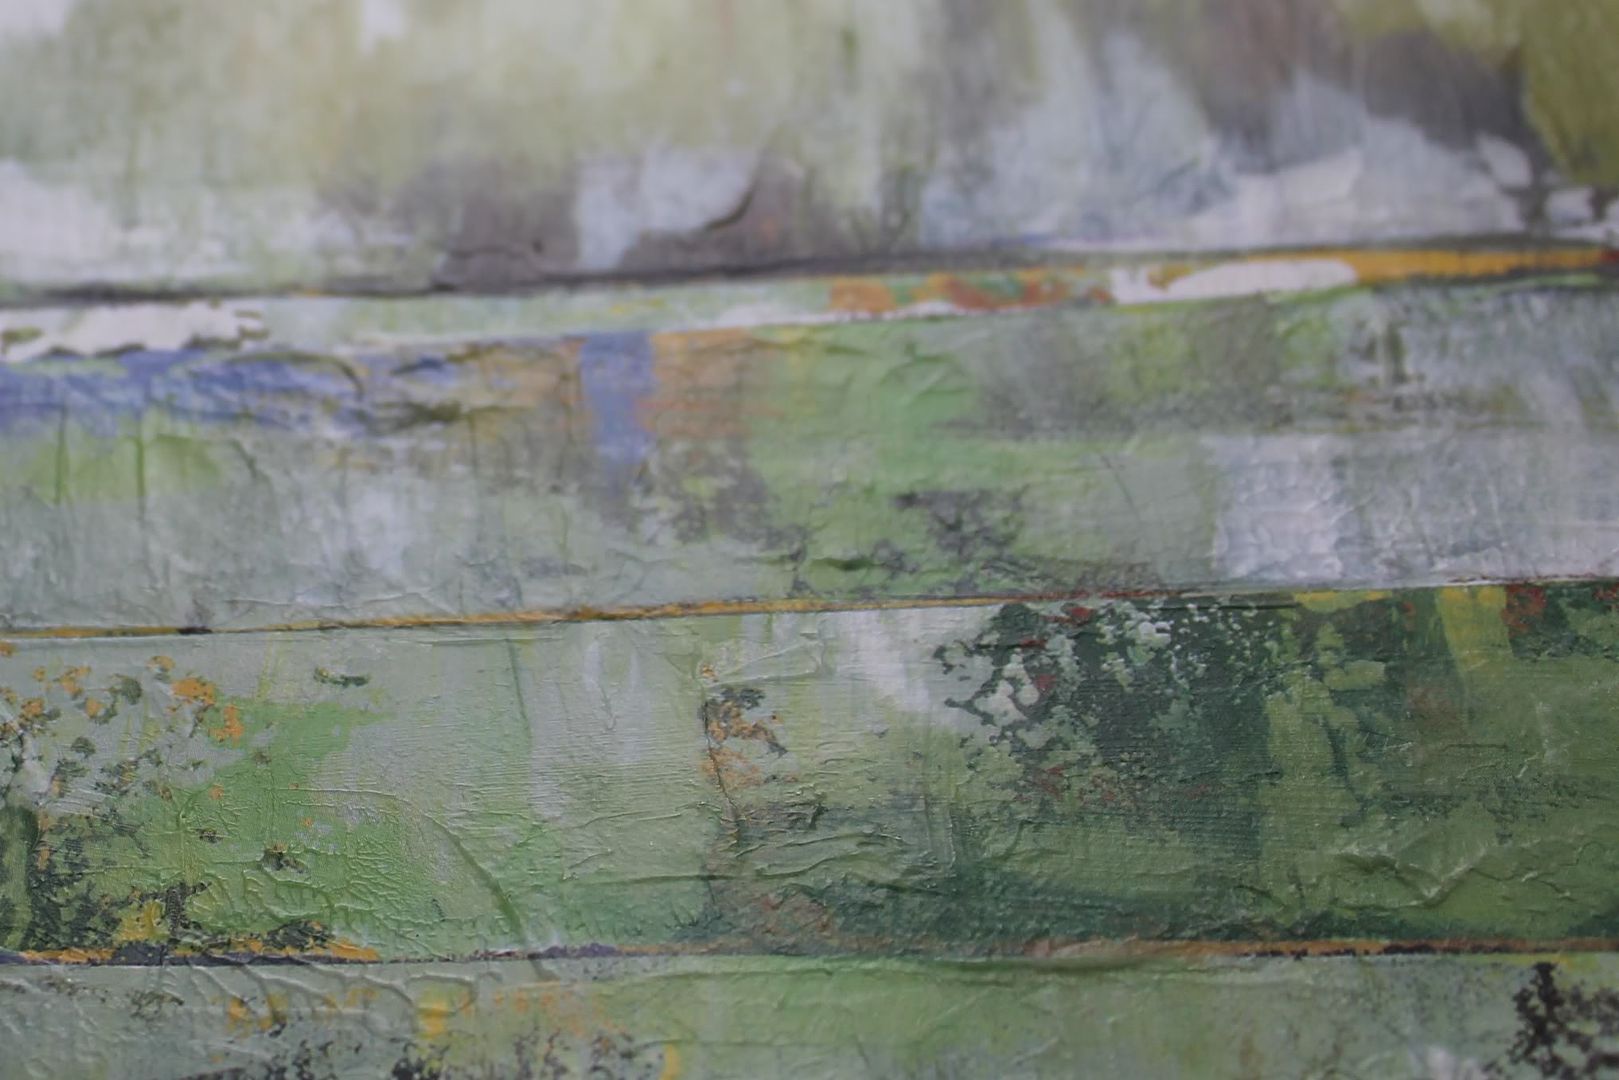
You can build up layers of the medium, letting it dry between coats.


It's a personal preference how much/how thick you want the medium to be. 
 Even though I was using the heavy gel medium, it took several coats to get as much 
dimension as I wanted on the print. I have seen some prints in stores with the medium applied
 too thick (for my taste) and in a haphazard  brush stroke manner that did not look real at all.


You could apply the medium heavier than this if you like.  The piece does not scream "look at
my brush strokes!" when you come in the room but up close it does look and even feel like
a real painting. 

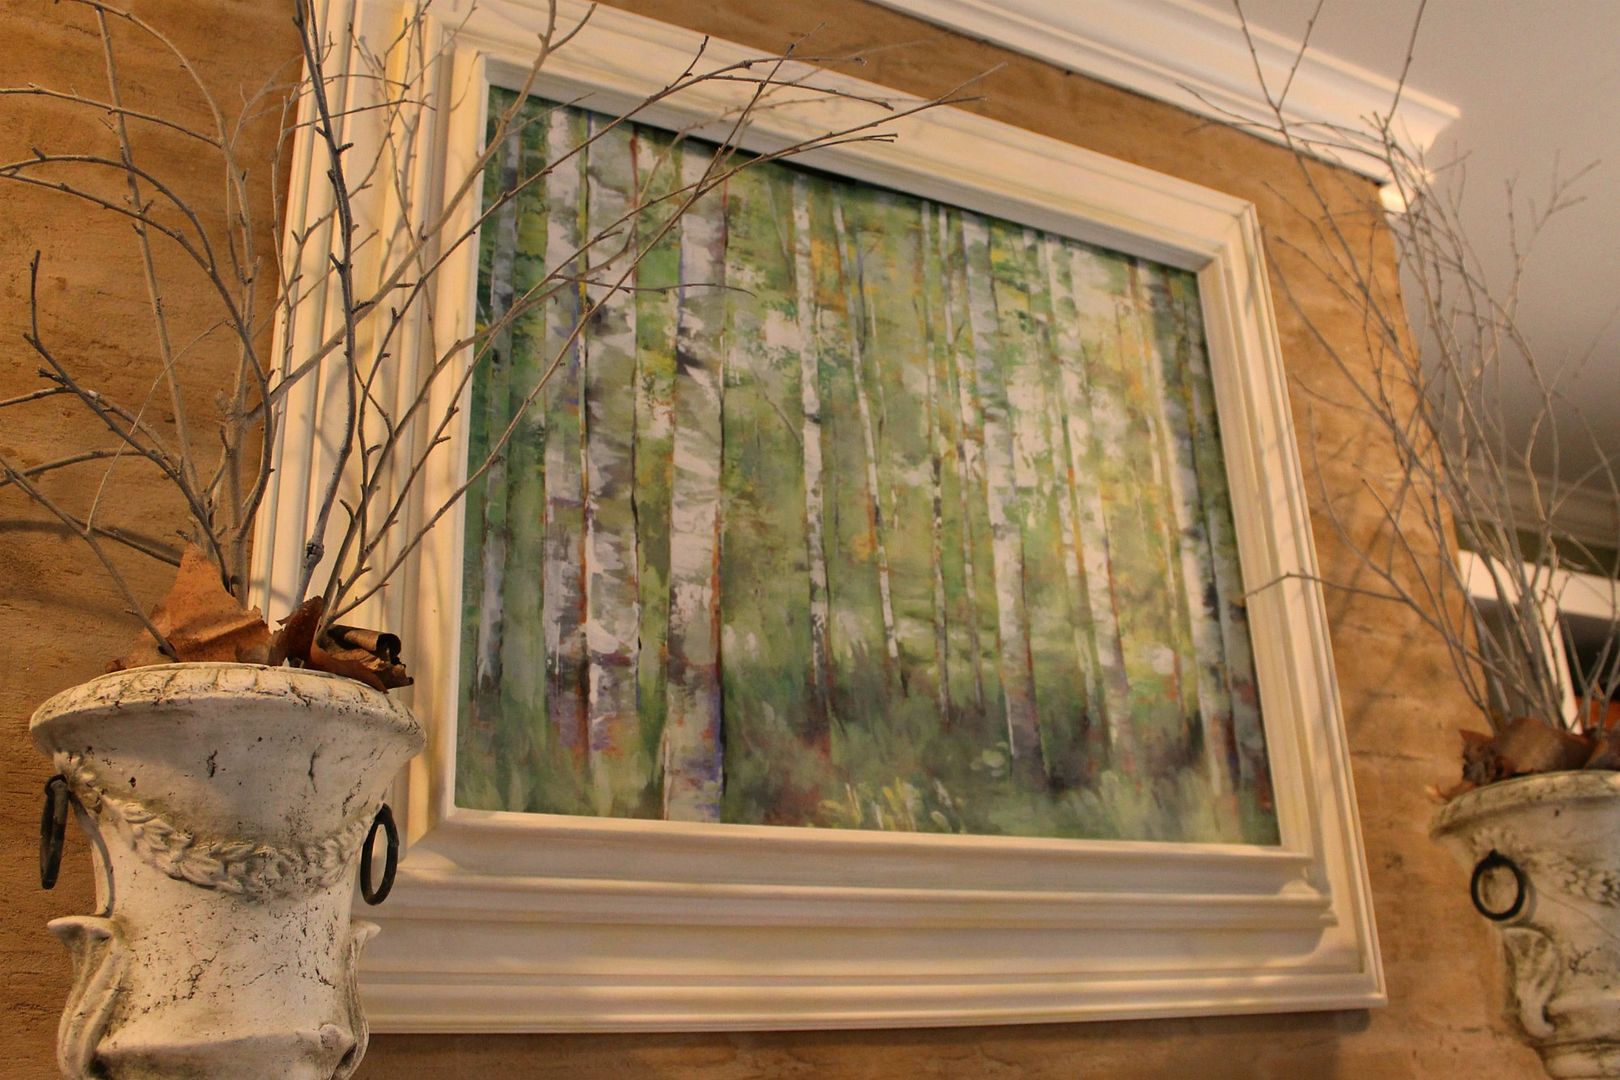
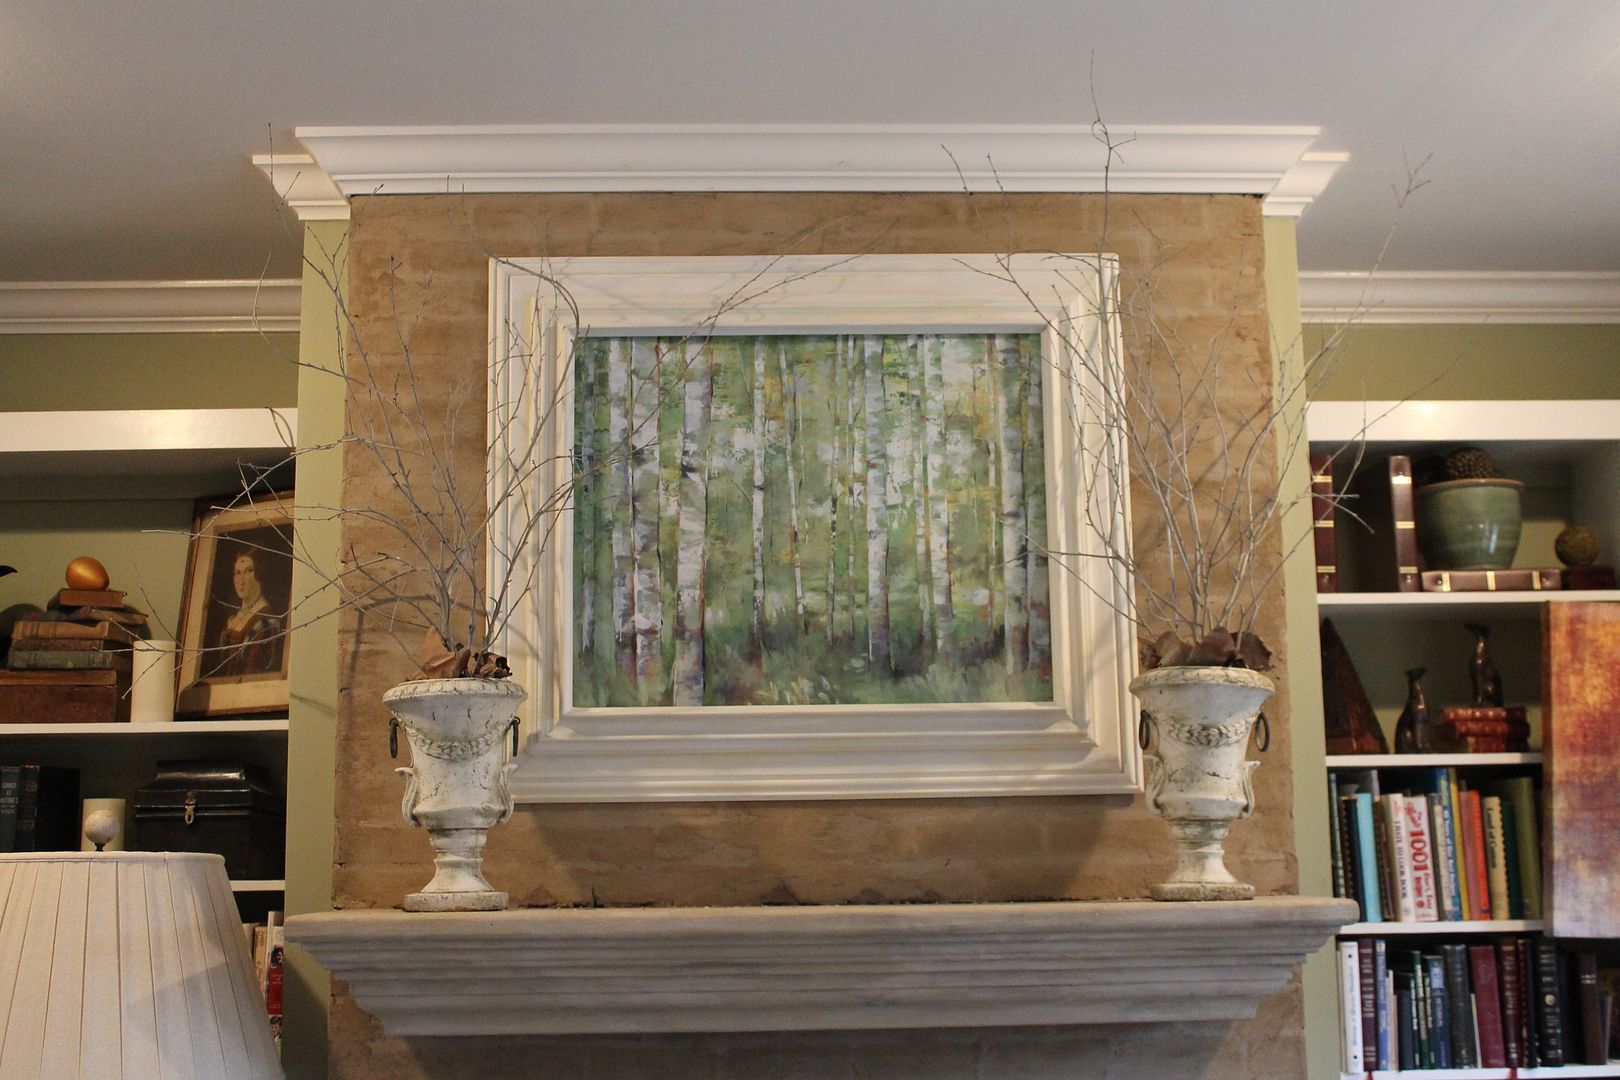
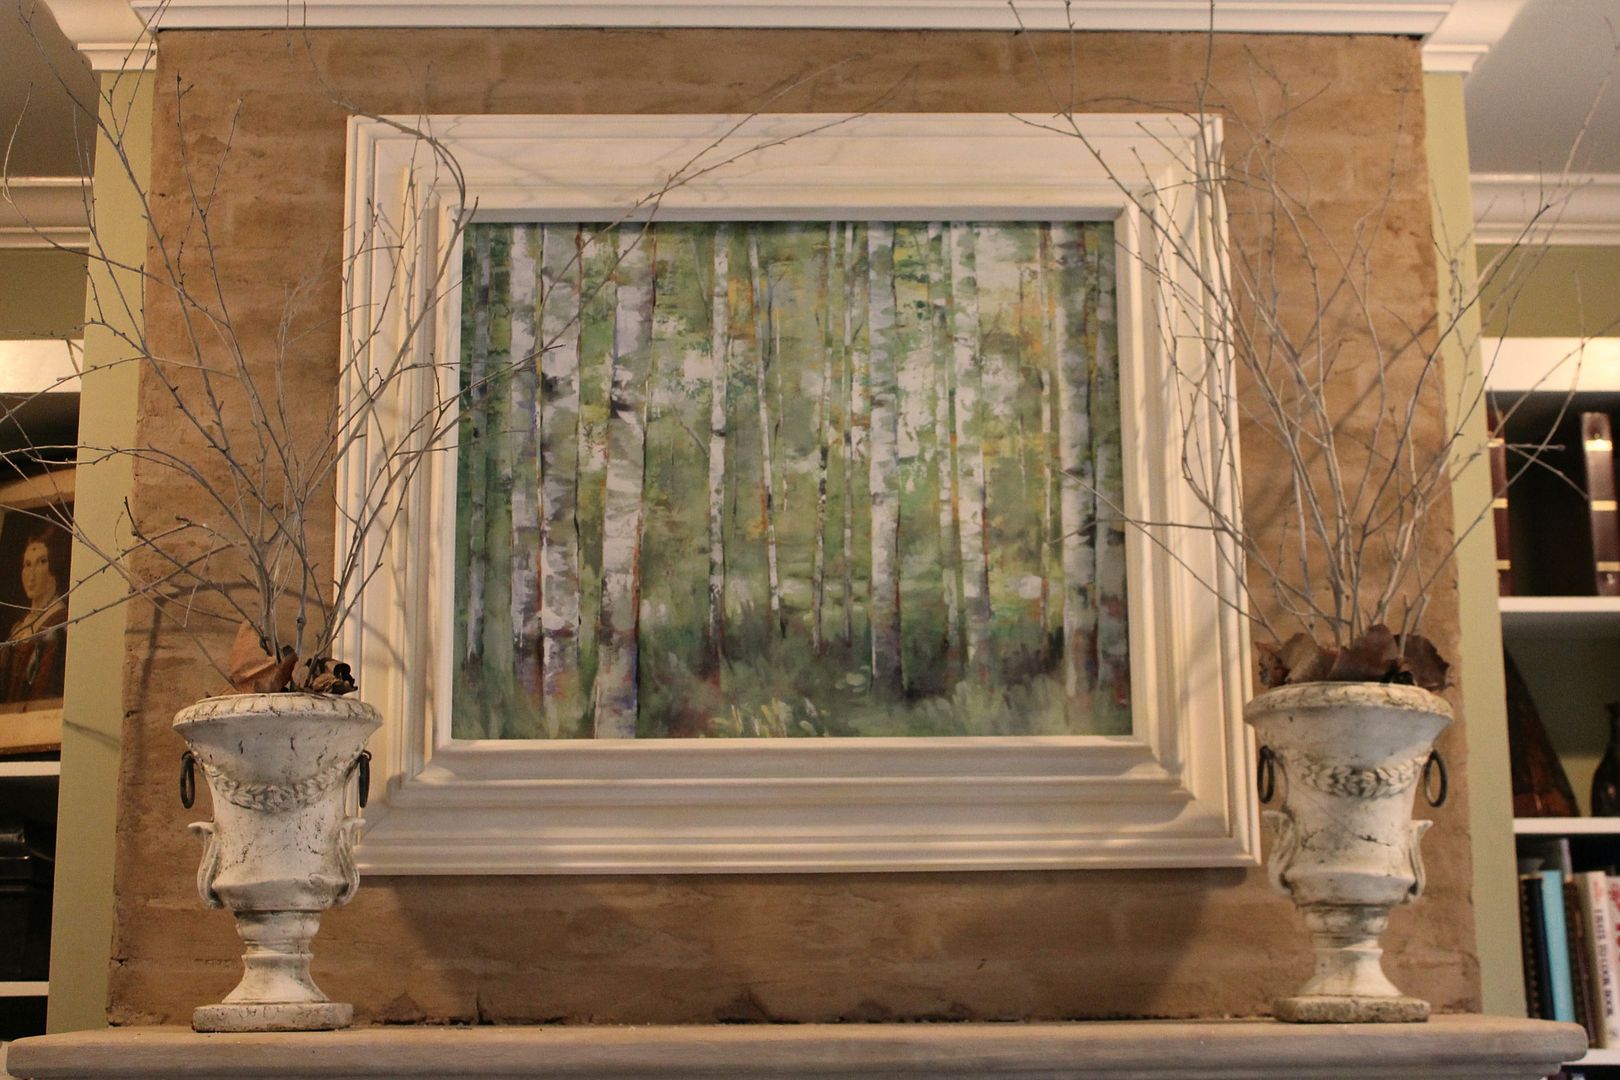
The "painting's" birch trunks go with the Winter White Decorating look that I have in my living room now. The green
of the background goes well with my wall color.

The birch trees in my area are mostly "River Birch" and
not as large as the ones in the "painting" but I
gathered some fallen branches and bark from our nearby
birches to add to the white urns on the mantle.


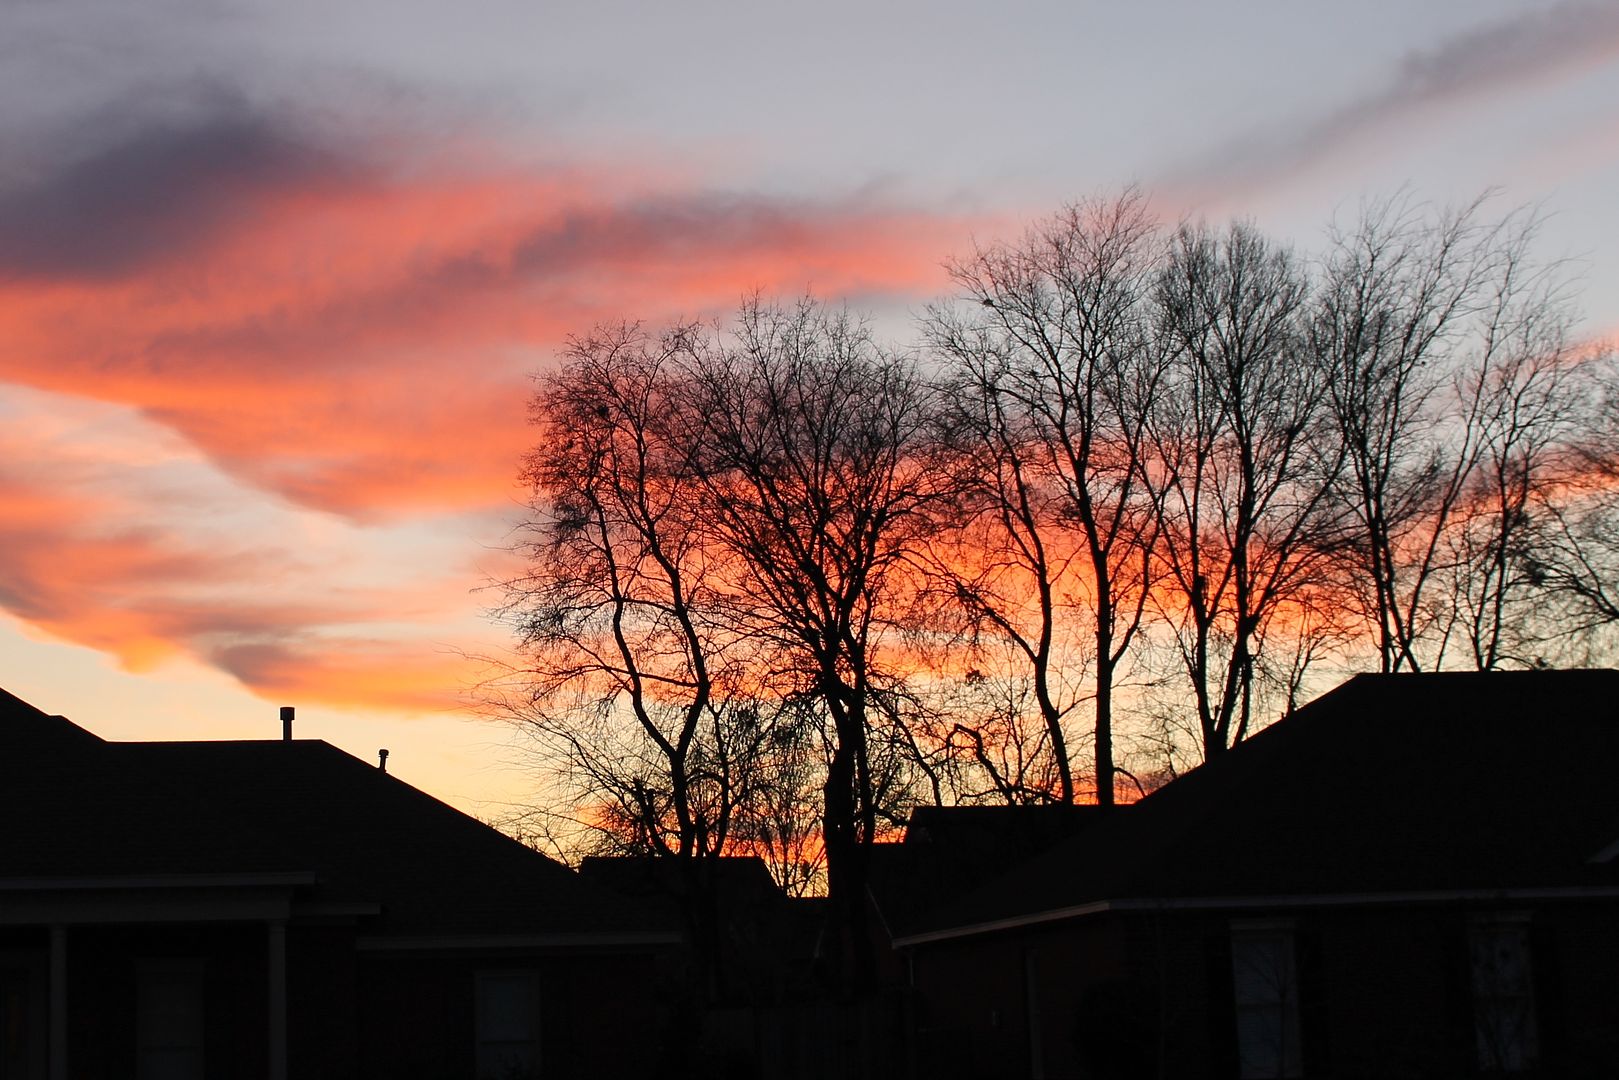
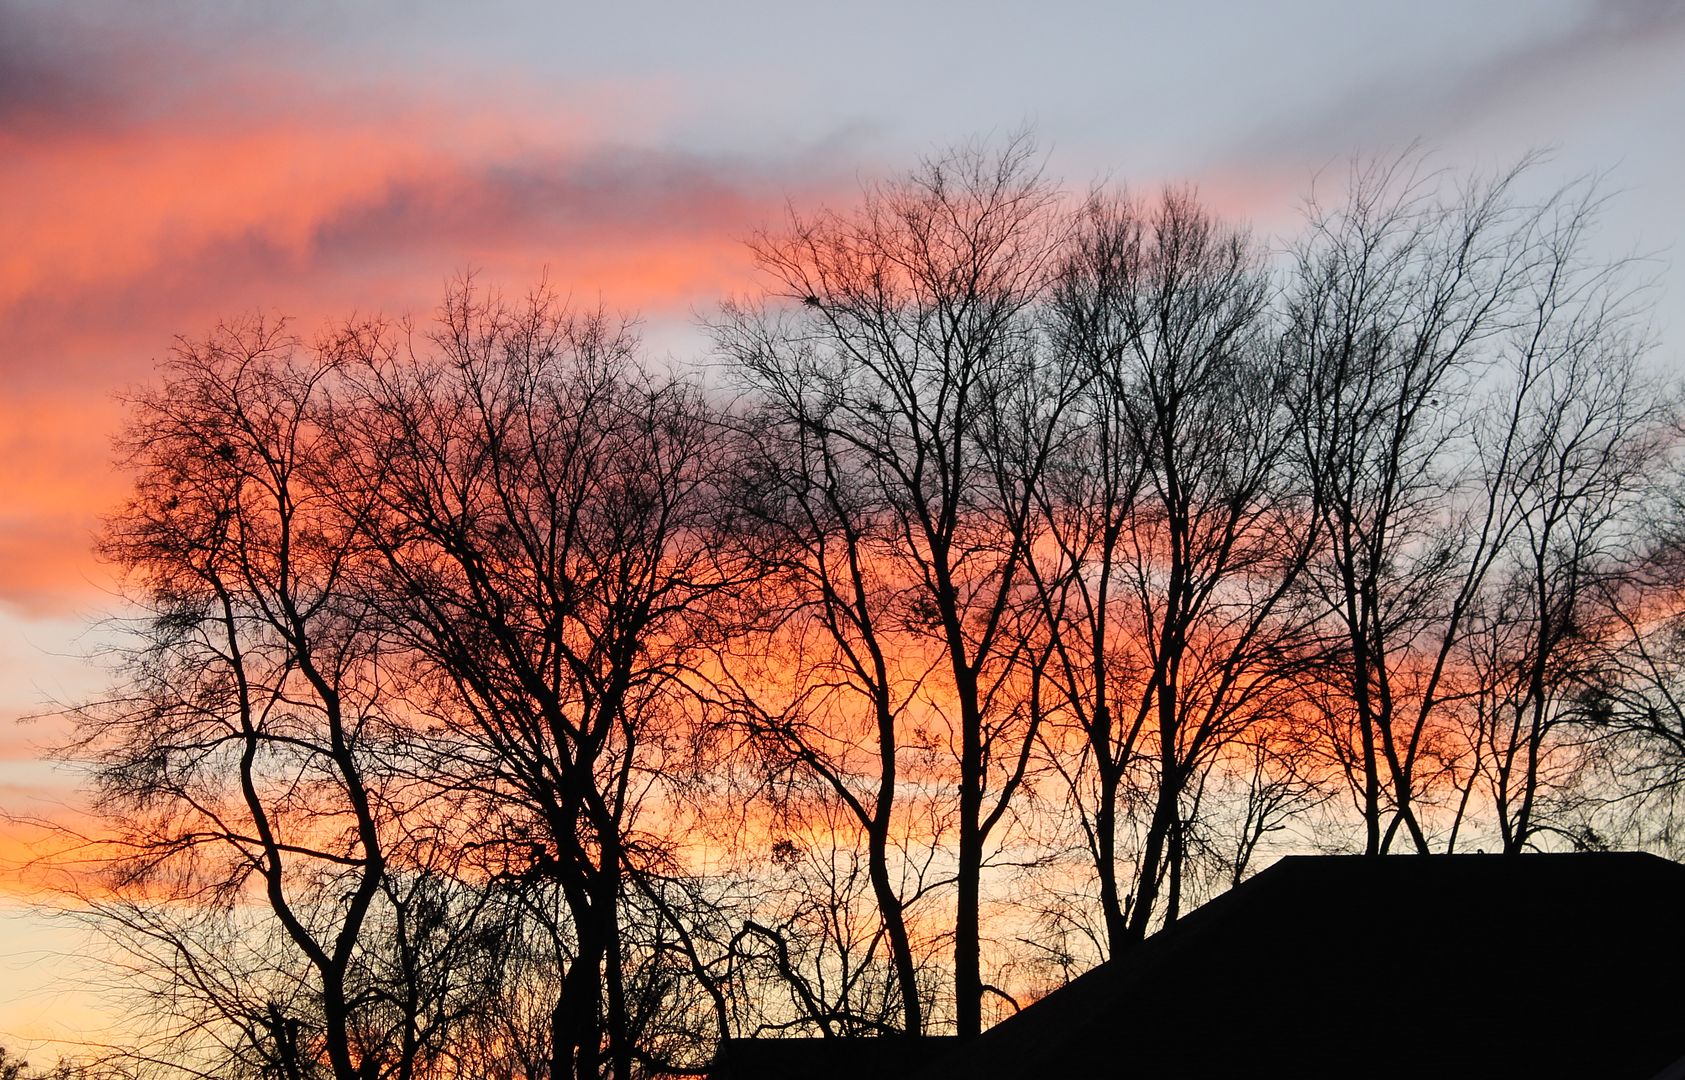
After the visual overload of Christmas,
I like to see the spare-ness of branches during
the rest of Winter.  Here are a few photos I have
taken recently of the beauty of branches.

Sunsets...

...and moonrise.

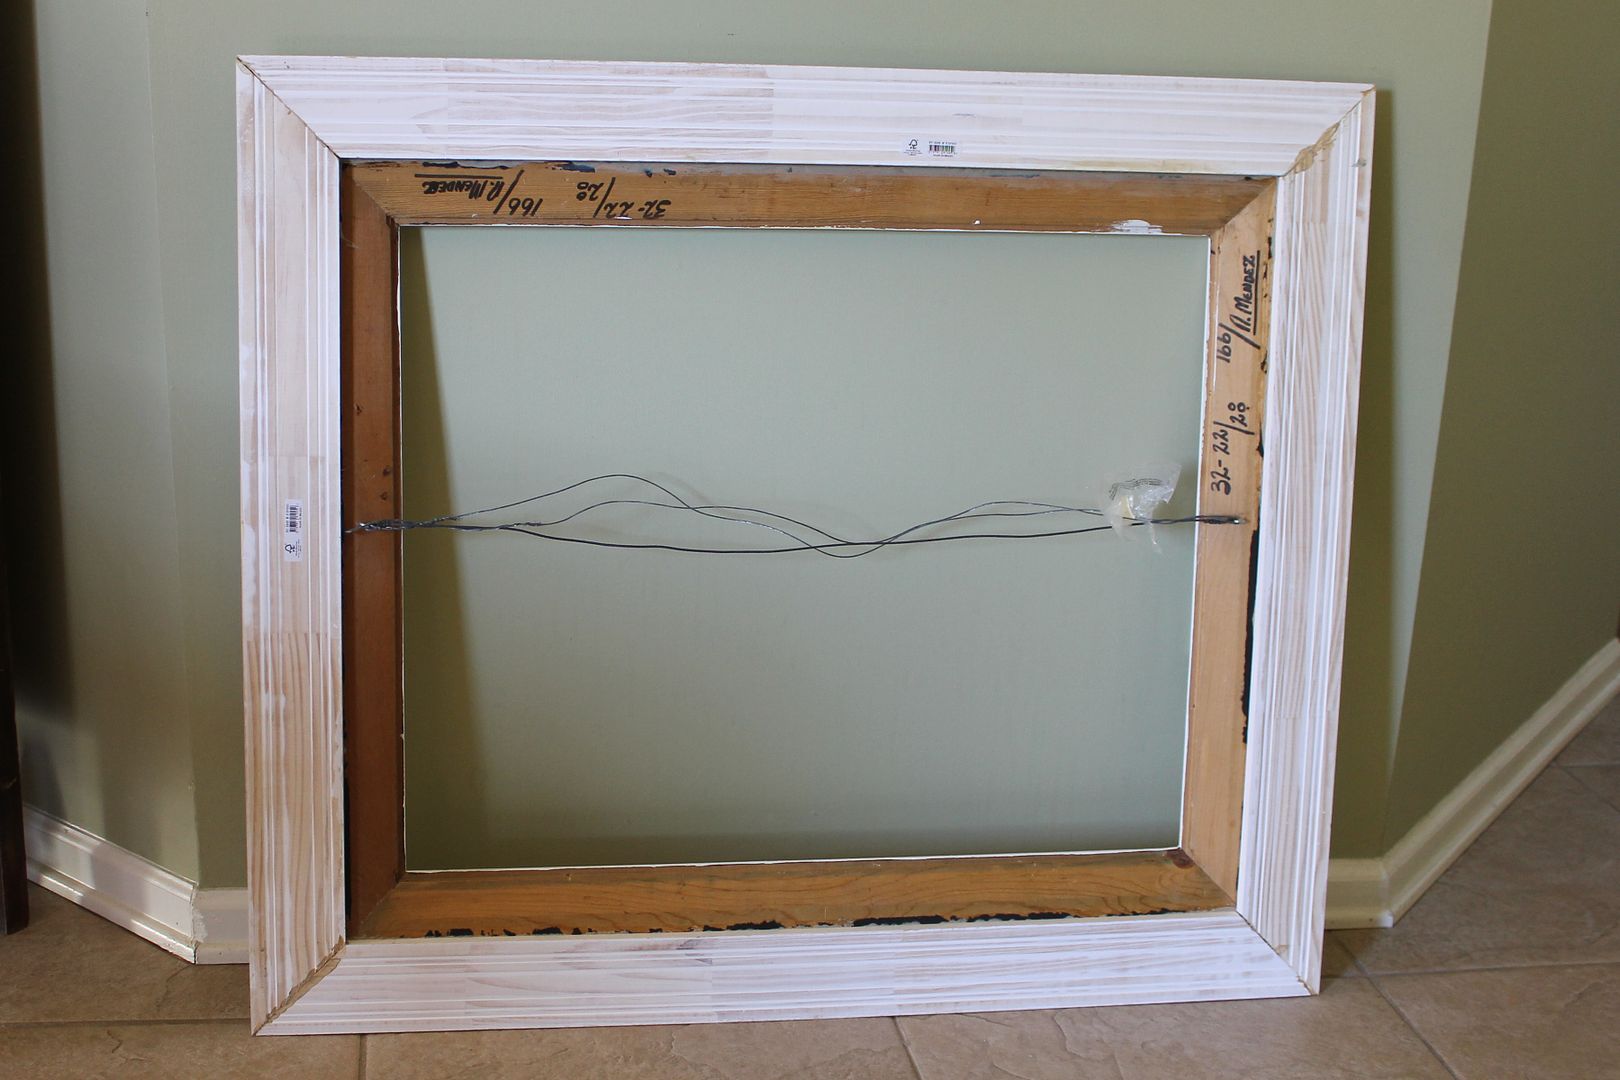
The frame that they birches are in was once brown and smaller in width. It was on a (real) painting but it looked drab. 
To brighten and widen it, I painted it a couple of shades of white and added some moulding to it.
The brown portion is the original frame.  I cut the white moulding with a hand saw and
used construction glue to join the miter cuts together to make a larger frame.
Then the larger frame was glued onto the back of the brown frame.

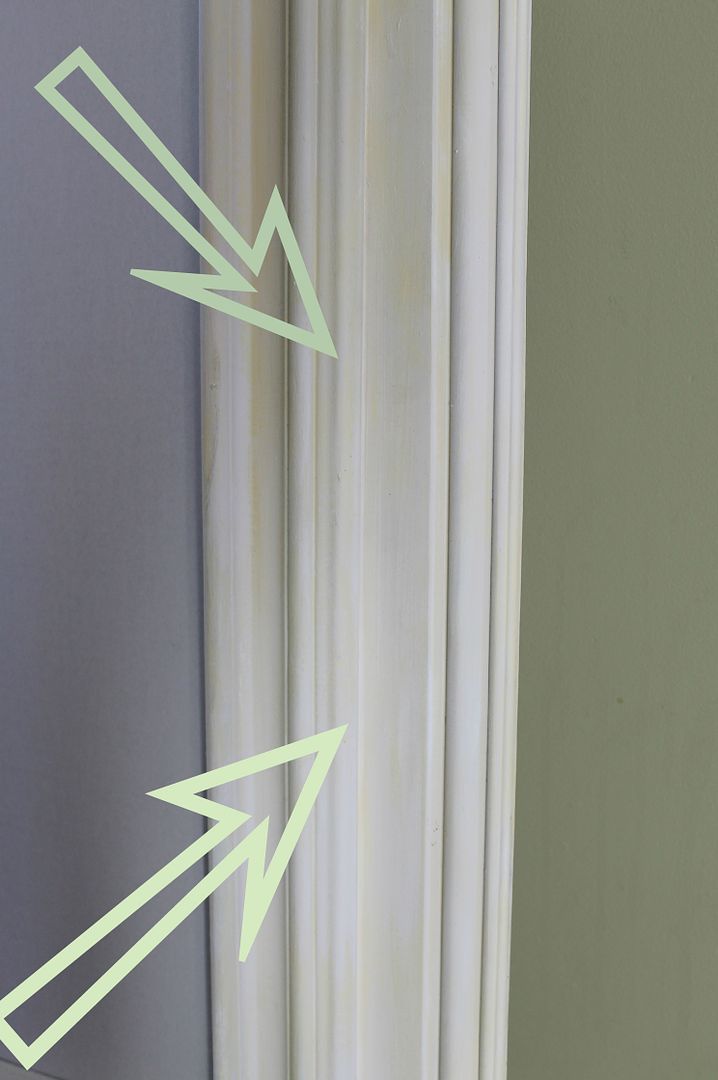
The arrows point to the joint between
the old and new parts of the frame.

Wood putty and paint can cover a multitude of sins.


© Miss Kopy Kat. Design by FCD.